
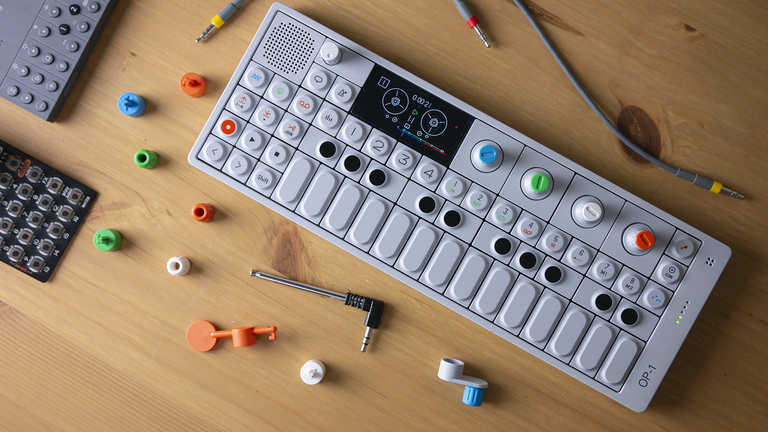
The Teenage Engineering OP-1 has been around for quite some time now - nearly a decade! That’s quite a long period of time when talking about modern tech. However, just because it’s getting on a bit doesn’t mean that it can't still surprise you. It’s range of functionality is vast, and so it’s plausible that you could overlook some features, even if they’re mentioned in the manual - ‘cos who reads those am I right?'
Seriously though, we wouldn’t blame you for not learning all the functions off by heart. Instead, we’ve decided highlight some of the tricks that you might have missed. Perhaps you’ve discovered a few of them already, or seen them in a tutorial, but that’s okay. You might still learn something new today!
Even if you don’t own an OP-1, you might have seen some of the mad effects that live inside it – most notably the CWO. But did you also know that you can use these effects on other external instruments and sounds?
Setting this up is quite straight forward, so long as your other device has a line-out:
With any luck, you should be able to hear the incoming audio processed through the OP-1's master effects. The external audio is also processed by the mixer, EQ and limiter as well. Why not try processing stems or a whole track through the effects to add some extra flavour. It's also worth bearing in mind that you can record the input signal to the tape or the sampler in a very similar way to the resampling method, which we'll look at next...
Ever find yourself running out of steam with a loop or pattern? Running out of track space can quickly stifle an idea, and whilst the OP-1's virtual 4-track tape recorder is pretty cool, it does put a limit your channel count. The last thing you want to do is destructively overdub a new sound that just doesn’t work. The OP-1 doesn't have an undo/redo function. If you haven’t backed up the original loop, you could easily find yourself starting over.
Nobody wants that! So aside from a lot of cutting and pasting tracks, here’s an alternative way to make space on your 4-track...

As an example, Let’s say you have 3 recorded tracks – drums, bass, and chords. You’re happy with the way they sound, and so you could commit them to 1 track by following these steps:
Et Voilà! You now have a summed version of your 3 tracks on channel 4. This method of resampling is really simple and avoids common problems such as feedback loops or complex routing! This method gives you more room to experiment with additional layers without the fear of messing up your patterns.
To expand on this idea of resampling, why not try recording your loops into the sampler? As well as capturing audio from the mic, radio and other synths, you can grab your audio from the 4-track and chop it up on the keyboard:
And that’s it, resampled. This is a great way to transform your ideas into to something completely new!
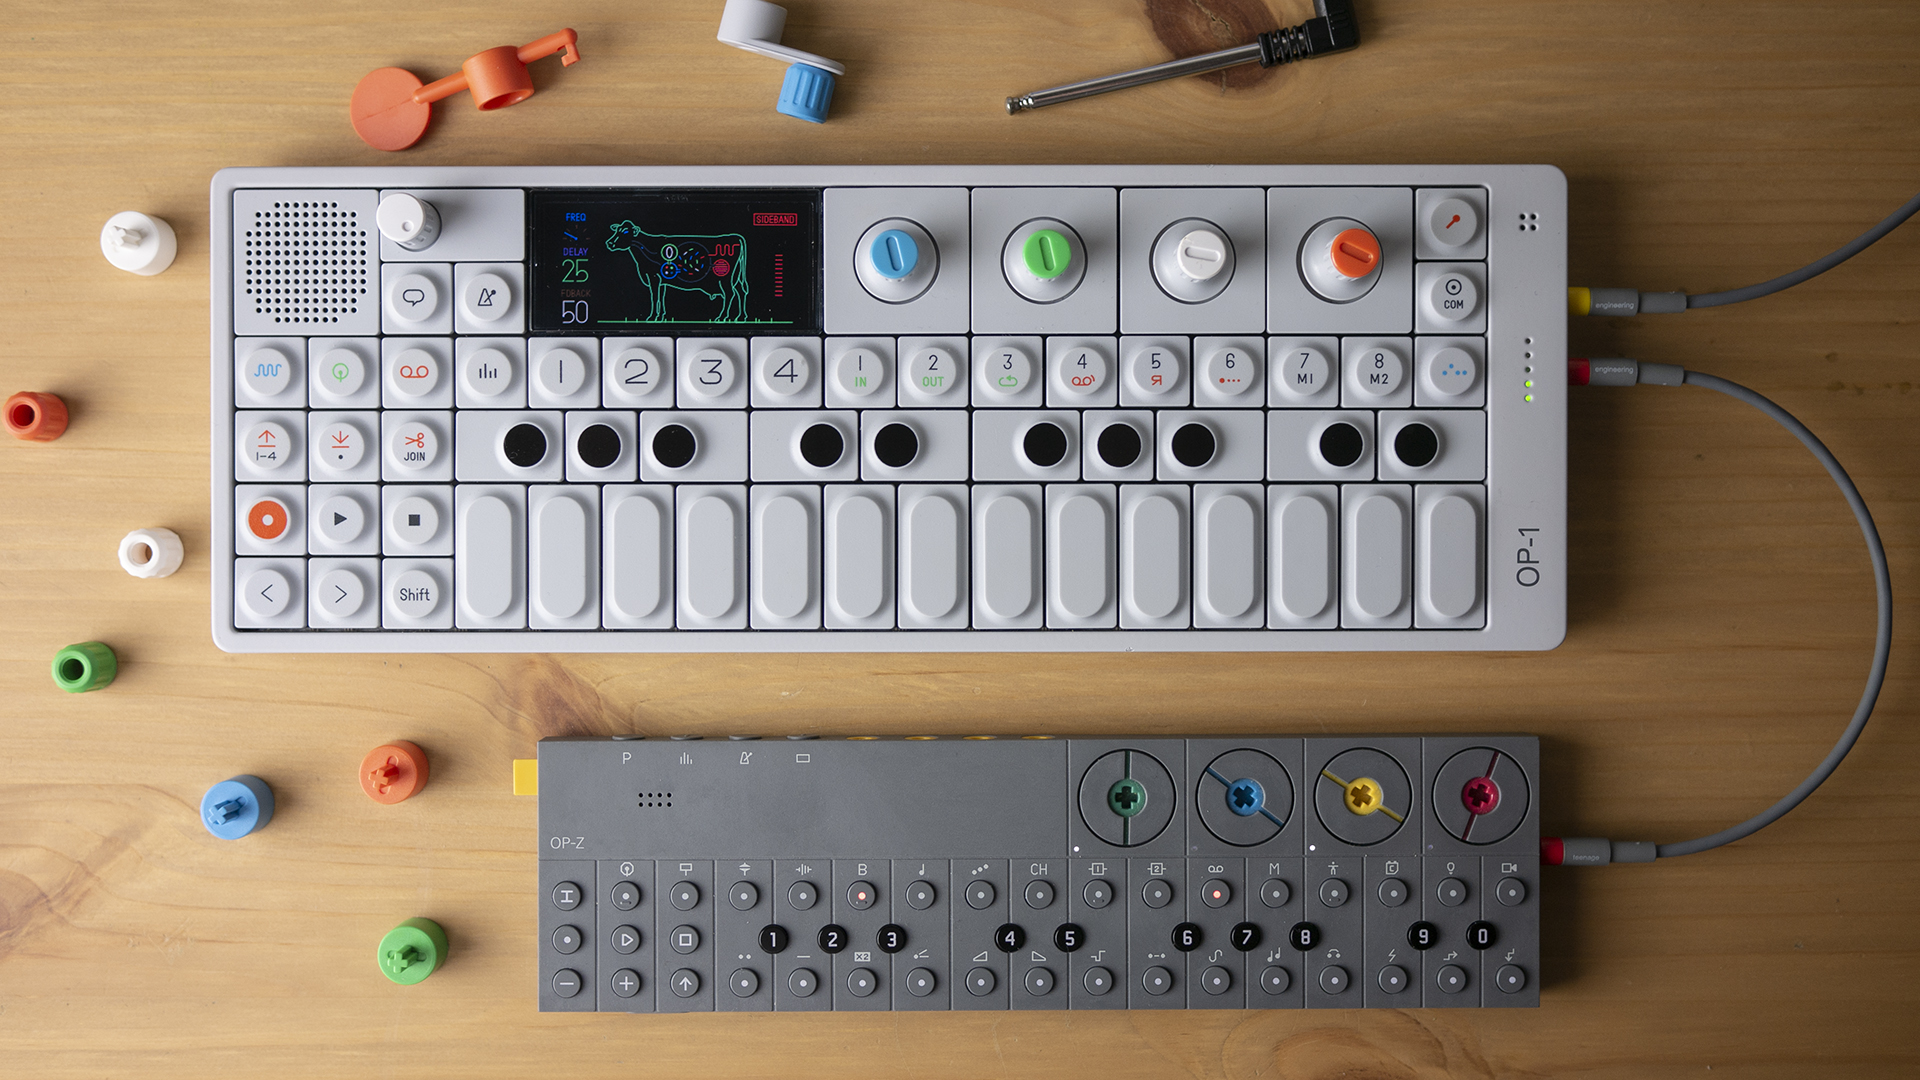
The OP-1 Accessory Kit is a great way to squeeze even more creative juice out of the OP-1. These quirky little add-ons have been around for a while, but now they come bundled as an all-in-one package. Let’s have a look at what you get:

Crank it up! The Crank is a little winder attachment that fits on top of the OP-1's colour coded knobs. It provides a faster, more precise way to turn the knobs, but it’s really a lot more than that. In tape mode, you can manually scrub through the tape as though you were winding it in real life. A dedicated Crank Mode in the LFO menu lets you use crank to wind up sound parameters. In the sequencer, you can wind through phrases using the Endless sequencer as though it were a music-box. It might sound trivial, but Crank can wield some interesting results full of character and expression. You get 4 different coloured handles in keeping with the OP-1's colour coded knobs.
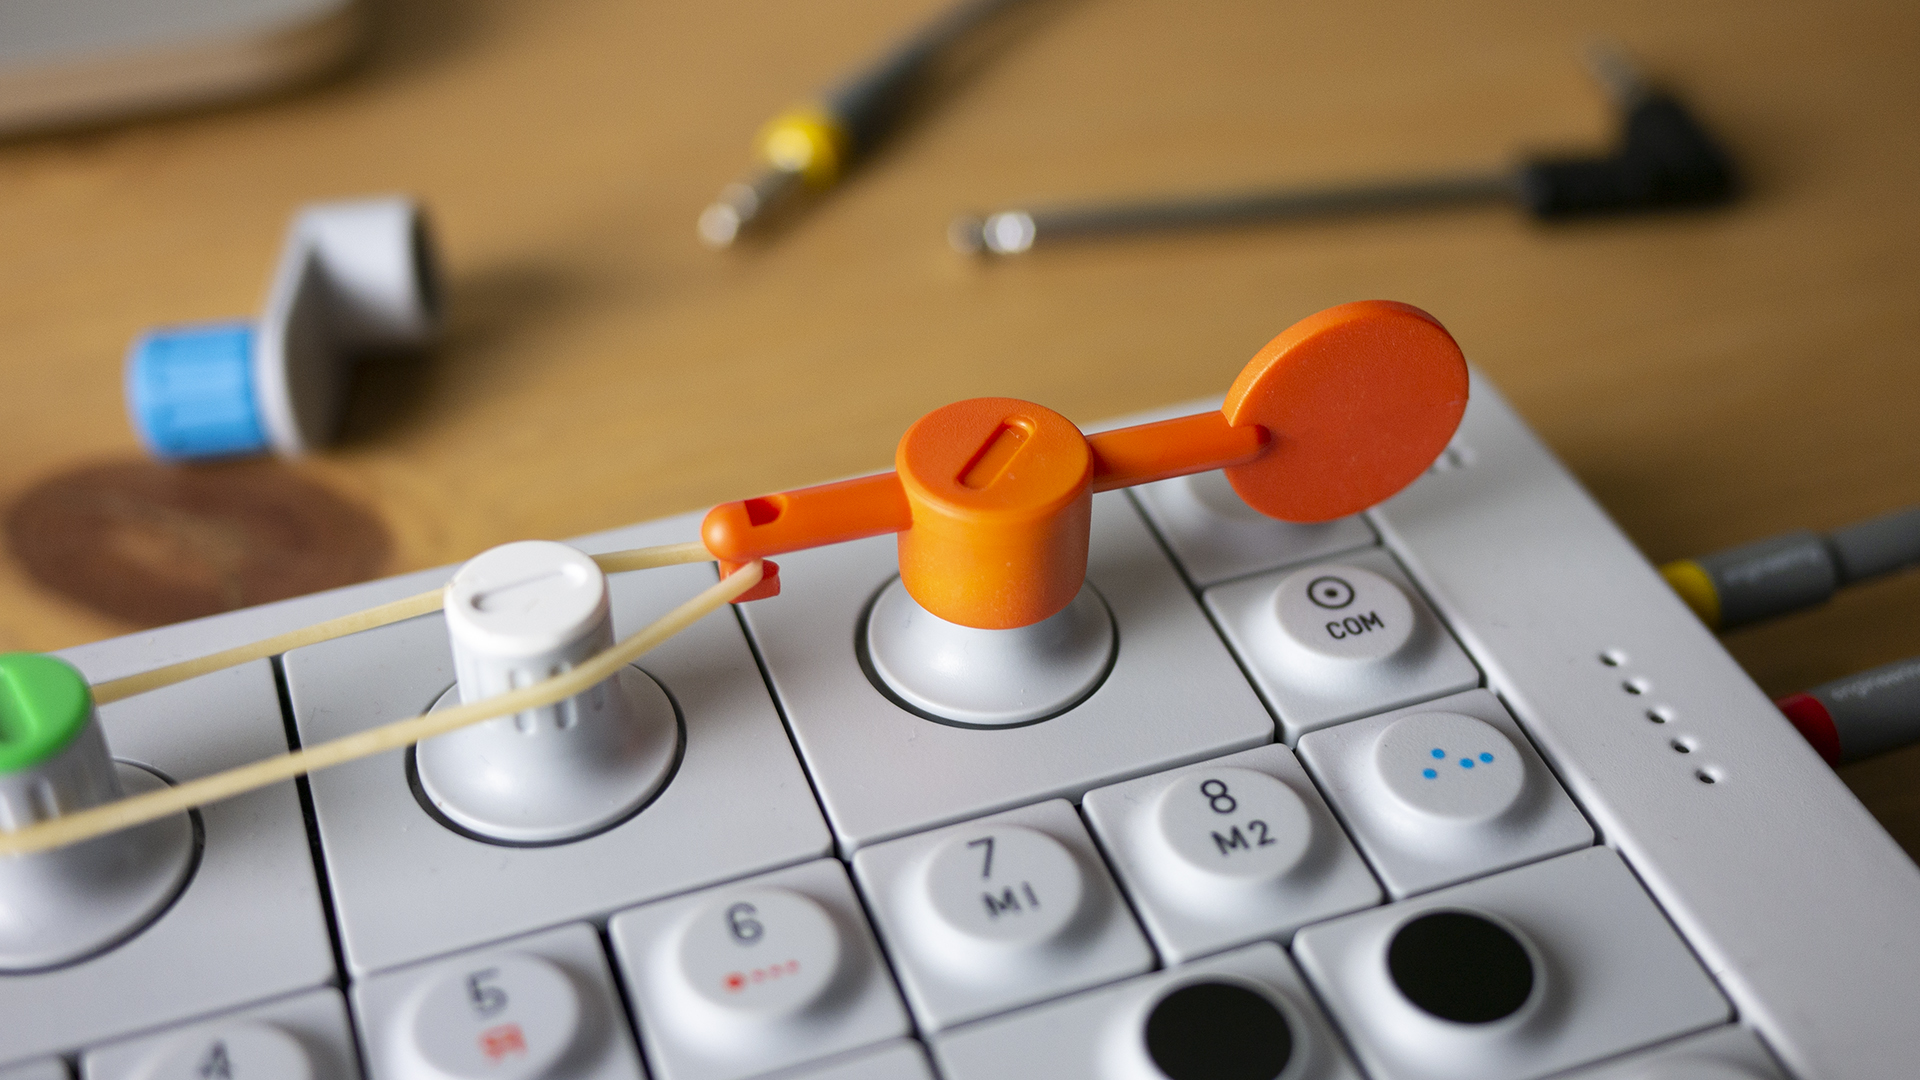
The Bender is OP-1's answer to the pitchbend control you find on most other synthesisers. It comprises of 2 parts – an orange plastic paddle and elastic band - simple but effective! The orange colour gives you a clue where it goes... you guessed it: on the orange knob. The elastic band attaches to the hooked end of the paddle, and then goes around the other encoders. When it’s fitted, the band keeps the paddle in a neutral position. When you put pressure on the paddle, the knob turns and the elastic band stretches. When you release it the band returns the paddle to its original orientation. This is mainly used with Bender in the LFO menu. With this, you can apply Bender to an array of different parameters linked with the sound engines and effects.

You may have noticed that design team at teenage engineering are probably a fans of Lego – evident from the Lego-style knobs on PO-Modular and the cross axle sockets on the OP-Z encoders. Brick Shaft is a Lego adapter for the OP-1. It allows you to add your own imaginative attachments with a cross axle. Perhaps a big wheel for easy control, or a cog turned by a series of gears attached to something else. You could even program automation with Lego Mindstorms. The simple Brick Shaft adapter opens up some pretty interesting avenues for creative control.

If you’re looking for a spark of inspiration, the FM Antenna could provide you with just that. Surf the airwaves and sample direct from radio – whether its voices, music or even just the random static between channels. You can record into the sampler engine, or direct to the tape as you would when sampling other external sources. Select the radio icon from your input sources, and scroll FM frequencies to tune into your next sample!
If you like to work with software such as Ableton and Reason for arrangement and mixing, the OP-1 doubles up as a handy DAW controller. It’s the perfect size and form factor for a small footprint laptop controller. To explain how this works, we’ll focus on how it integrates with Ableton.
If you press shift + com, you are presented with a menu screen with 4 different functions to choose from. Option 2 is called ‘CTRL’ for control mode. When this mode is selected, the OP-1 transforms into a MIDI controller. From here you can send out notes and CC values via USB MIDI.
The DAW control mode takes this one step further. To set this up with Ableton, you’ll need to follow these steps:
And with any luck, your OP-1 screen should look like this:

The template for Ableton control has 4 control modes that change the behaviour of the keyboard depending on how you are using it:
In addition to the preset controls, there are also 3 custom user modes to program yourself. More information on the controls and process for Reason can be found on Teenage Engineering’s website.
It’s worth noting that you can also control external midi devices outside of CTRL mode. That way you can make use of the OP-1's onboard sequencers such as Tombola to control other instruments.
The OP-1 allows you to record and loop as many sounds as you like, but when it comes to live performing & sequencing, you can only play one sound at a time. Therefore, Drum Mode and Synth Mode cannot be used simultaneously. That's why it’s often a good idea to partner the OP-1 with another device, especially if you want a bit more flexibility to change up sequences on the fly. Pocket Operators are a great way to add an extra something to the mix. Even more so when you realise the OP-1 can synchronise with them too!

Here’s how you sync a Pocket Operator to the OP-1:
For more information on how PO-SYNC works with the OP-1 and other TE Devices, check out Our Guide to Pocket Operator Sync Modes
These are just a few tips and tricks for the Teenage Engineering OP-1 that we found really useful to know about. We hope they were useful to you as well! There’s a lot to take in when learning the OP-1, and it's always possible that some things might get missed. The OP-1 is a unique musical instrument with lot to offer, and I suspect it still has a hidden secrets that are yet to be discovered!
This new blog is presented by the team at Sound Technology Ltd, a leading distributor of musical instruments and pro audio equipment in the UK and ROI.


